 Towards the end of 2021, I started making a Minecraft-like game from scratch using Rust and OpenGL. It’s unfinished, but I’ve made it open-source.
In this article, I will walk you through the journey and explain how the following techniques can squeeze performance out of your GPU:
- Batching
- View frustum culling
- Occlusion culling
- LODs
First of all, why Minecraft?
Minecraft introduced me to Java (and programming in general) over 10 years ago. Some of my first lines of code were to make pigs drop diamonds instead of porkchops; this led to a few years of creating and sharing mods online. To dig up a skeleton from 2013, here’s a short review of one by a fairly popular YouTube channel.
I don’t play it much anymore, but building a Minecraft-like game from scratch has always struck me as a ‘fun’ technical challenge. I’ve done it in Unity before, but decided now was the time to try it in my favourite language: Rust.
What makes Rust a good choice?
Rust is fast. Very fast. As shown by these benchmarks, Rust can keep up with C for the most part and in some cases even beat it. Combine that with safe concurrency and an expressive type system, and you have a language that fits game development perfectly.
The main thing that Rust lacks right now is game engine support. Amethyst was the forerunner for games in Rust for a while, but that was recently discontinued. If you’re working on a similar project and want to use an engine, your best bet would be Bevy.
To maximise pain (or learning), I chose not to use an engine and instead to build the game from scratch. I used two key dependencies here:
- specs, which provides a framework for creating and processing large numbers of entities in parallel.
- glium to provide a safe wrapper around OpenGL, which is an API for interacting with GPUs.
Why OpenGL?
There’s something to be said for picking tools you’re familiar with when tackling a large project like this. There was going to be a lot of learning either way and picking a tool I had used before helped me make consistent progress.
Besides, OpenGL is a tried and tested API that has served graphics well. It’s still widely used, and there’s plenty of documentation out there for it. I even have the heavy OpenGL SuperBible sat on my bookshelf. Vulkan might have let me squeeze out more performance, but it would have taken me longer to get something working.
Optimising the GPU
GPUs are powerful beasts. The RTX 2060 in my desktop far surpasses the mobile GPU in my laptop, but relying on raw performance is not enough. If a primitive game sends my fans into overload, something is wrong.
Drawing the world
To render a mesh on the screen, a number of steps need to happen:
- Allocate a buffer of GPU memory.
- Upload mesh data into the buffer.
- Issue a draw call to the GPU, telling it to draw the mesh in the buffer (with other parameters like texture).
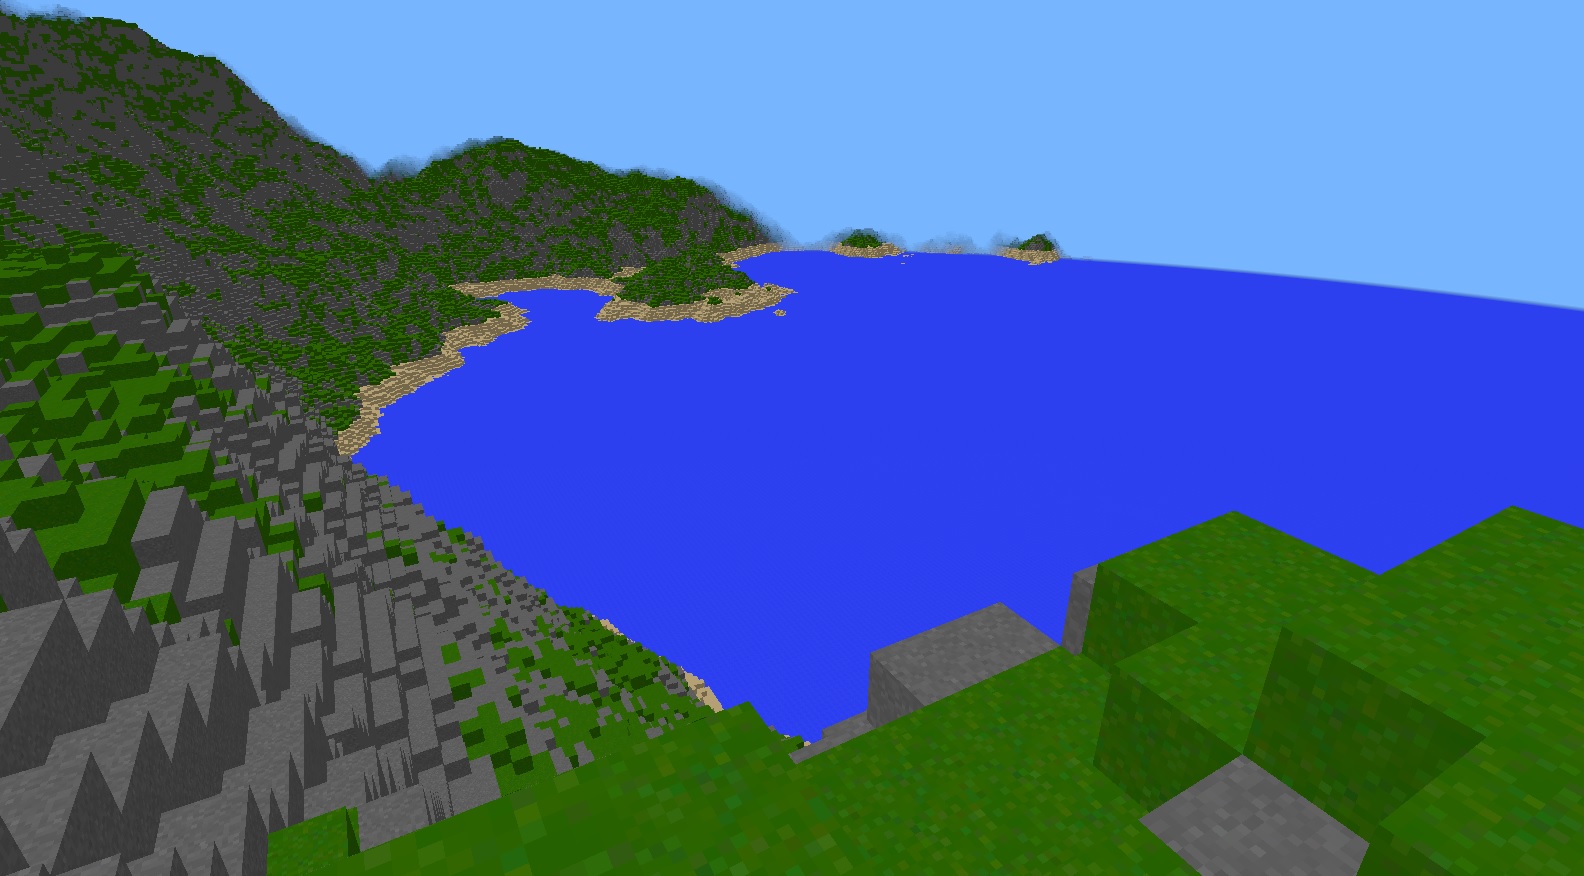
In Minecraft-like games, the world is split into chunks. These are parts of the world that can be loaded and unloaded independently – it’s what gives the illusion of an infinite world.
The first iteration of my game allocated one buffer per chunk. For a render distance of 8 chunks, that meant 64 buffers to maintain on the GPU. To render each chunk, this needed 64 draw calls per frame. It was dog slow.
I had violated a key principle of game development: keep your draw calls low.
Batching
The GPU works best when state changes are kept to a minimum. Draw calls take a number of parameters - such as the buffer to draw - that can change the state. Issuing 64 of these on separate buffers was making the GPU very unhappy.
Using batching, I reduced this to a single draw call.
The principle behind batching is that meshes can be combined (batched) into a single buffer, enabling the GPU to render them all in a single draw call.
To do this, I implemented the following approach:
- Allocate a single buffer up-front, large enough to hold the mesh data for all visible chunks.
- Split that buffer into blocks, each large enough to store a whole chunk.
- Upload mesh data for new chunks into free blocks, and free up blocks when chunks are unloaded.
With all chunks now stored in a single buffer, I used OpenGL Multi-Draw to render them in a single draw call. This significantly improved performance, but still wasn’t good enough.
View Frustum Culling
GPUs work with vertices and triangles. The more triangles to render, the harder the GPU has to work. The number of triangles in a Minecraft-like game increases exponentially with the render distance, yet most of those are not even visible when the player is looking somewhere else.
So why waste precious GPU time?
That’s where view frustum culling comes in. It is a technique used to skip rendering geometry outside the player’s field of view, dramatically reducing the number of triangles that need to be rendered. Most game engines will do this for you, but I found myself battling equations until I finally got it right.
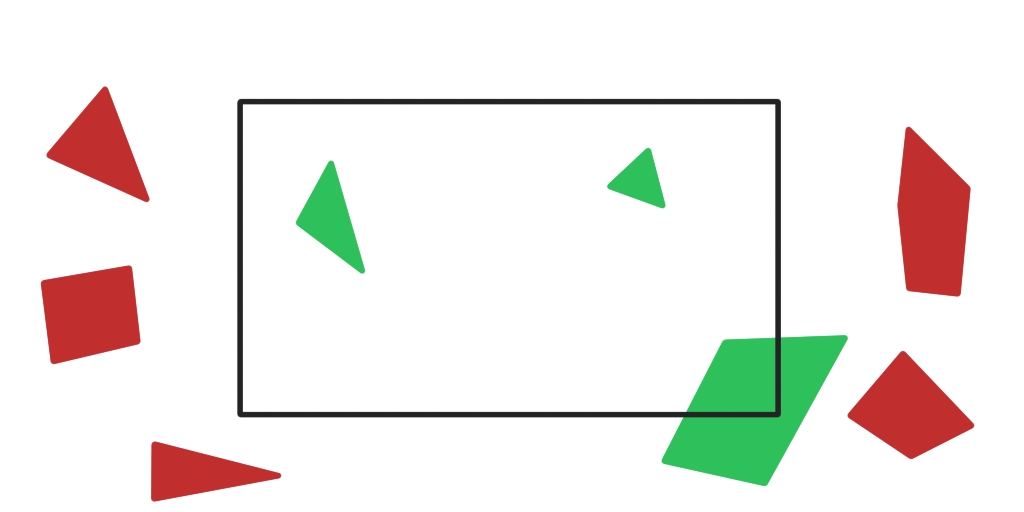
Here’s a quick example. The black box represents the screen. All the green shapes are visible meshes that are rendered, and the red shapes are culled.
I’m not going to explain how view frustum culling works here, but here’s an excellent guide that formed the basis of my implementation.
After implementing batching and view frustum culling, things were looking good. On my RTX 2060, I could comfortably run over 100fps at a render distance of 16 chunks, and even push it all the way up to 32.
There are still a few more optimisations that I haven’t implemented yet.
Occlusion Culling
Similarly to view frustum culling skipping geometry outside the view, occlusion culling skips geometry that is blocked (occluded) by other geometry. This becomes particularly important in hilly terrain or in Minecraft’s complex cave systems. Large underground cave systems add triangles that the player rarely even sees from the surface.
There are a few ways to do this:
- Hardware occlusion queries on the GPU.
- Discard occluded geometry on the CPU. Here’s a two-part article about the clever culling algorithm used for Minecraft Pocket Edition.
LODs
The icing on the cake here would be mesh LODs (levels of detail). This is a rendering technique that is common in open-world games, but it’s not actually implemented in vanilla Minecraft. If it was, you could squeeze a much higher render distance out of the game.
The basic principle is that when your mesh is far away, you swap it out for a less detailed mesh with a smaller triangle count; it’s too far away to see anyway. You can have multiple levels of detail per mesh to smooth the transition as it gets further away.
As a very rough example, here is a sketch of the same mesh (a circle) at three different LODs.
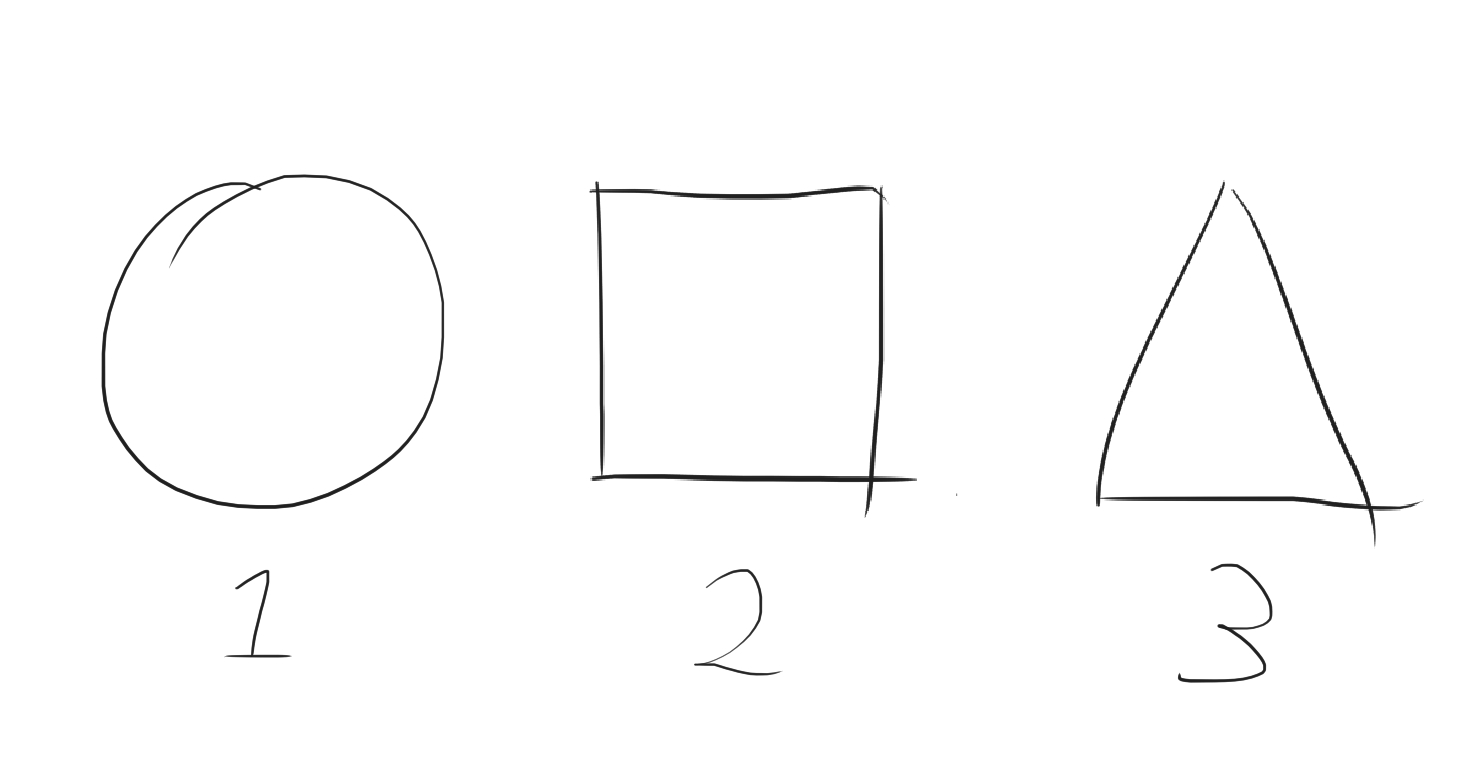
At maximum distance, the circle becomes a triangle - it’d be so small on the screen at that point that the player wouldn’t notice.
For a Minecraft-like game, LODs could be generated by merging connected faces or something more complicated like mesh decimation. It’s a trade-off: more complicated techniques will take up more CPU time and eventually not be worthwhile.
That’s a wrap. In this article I shared with you some hurdles that I had to jump to squeeze extra frames out of my GPU, as well as some more techniques to make it go even further.
If you haven’t already, feel free to check out rustcraft and play around with it yourself. Contributions are always welcome.